
This yakhni chicken pulao is always a hit with picky eaters. And I mean the literal kind. The ones who fish out every visible spice they can find on the plate. No judgment, I get it. I used to be one.
But don't let that be the only reason you give my recipe a try. This pulao is deceptively delicious and surprisingly simple to follow.
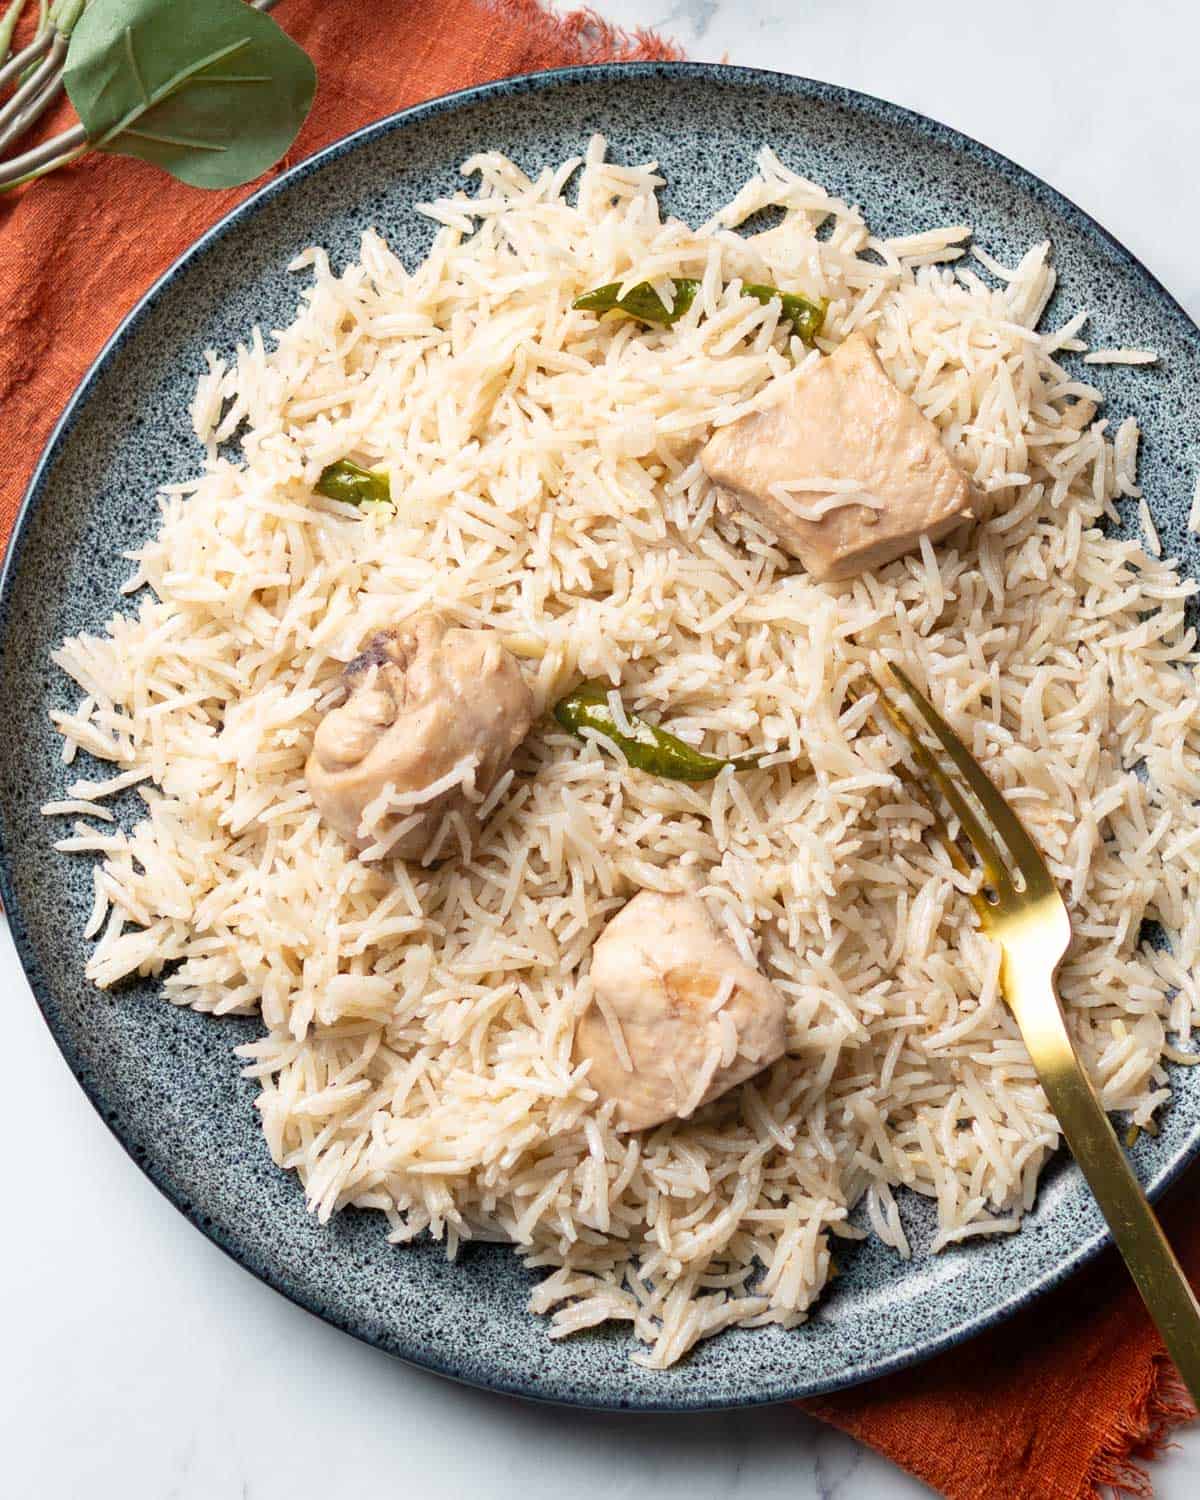
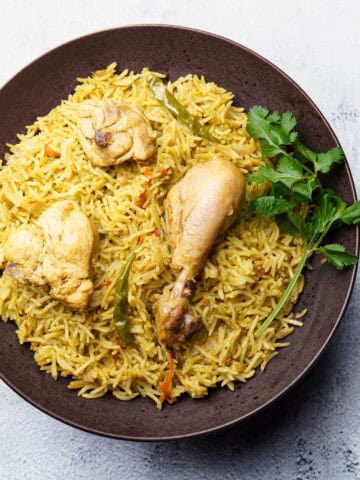
Perfectly cooked rice. Every grain separate. Not undercooked, nor mushy. And full of flavors from yakhni I make in a way that’s unique compared to how most people do it.
Unique because most yakhni pulao recipes call for boiling the chicken with whole spices. But I have two issues with that.
A) By the time the spices release their flavor, the chicken is usually fully cooked. Sometimes, even overcooked. And if it’s already cooked at this stage, it ends up dry later when it cooks again with the rice.
B) Straining the yakhni with chicken in it becomes a hassle. You need a much larger strainer. And often have to sift through the chicken pieces to remove any whole spices clinging to them. Messy and tedious.
So here’s what I do instead:
I first make a broth using onions and whole spices, then strain it. Separately, I sauté the chicken with a few ground spices, ginger, garlic, and yogurt, then pour in that strained masala broth.
The chicken simmers briefly, the broth becomes infused with chicken flavor, so you get a nice chicken yakhni. It all comes to a boil. And then in goes the rice.
Because I don't cook the chicken for too long at any one stage, it finishes cooking at the same time as the rice. Stays tender and juicy that way.
The pulao looks clean and simple. Almost plain. But the flavor reveals as you dig in. Wasn't lying earlier when I said it's deceptively delicious.
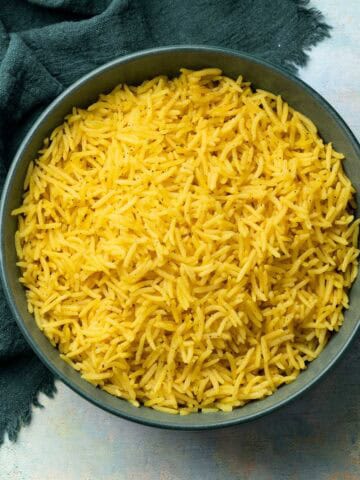
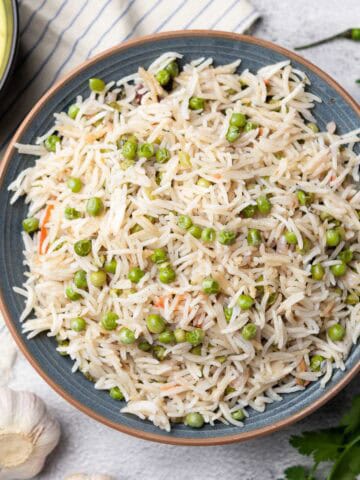
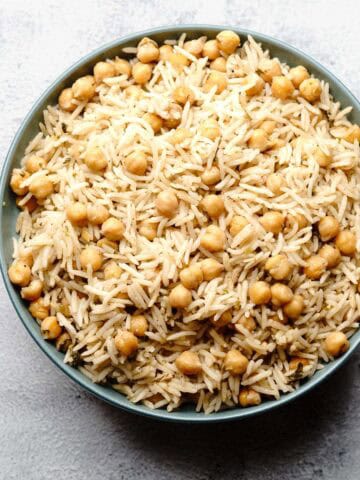
If you love rice dishes like I do, try my chicken matar pulao and simple chicken pulao that doesn't require you to make a broth separately.
Pre-cooking notes
- I get that it’s convenient to use store-bought ginger and garlic pastes instead of fresh, I really do. But this pulao just won’t be the same with them. If you have a jar from store, open it and take a whiff. You’ll know what I mean.
- Like with many of my rice recipes, I use green chilies in two stages. Some go into the ginger-garlic-chili paste, and then whole chilies get added later during the dum/steaming step. So don’t be surprised when you see chilies listed twice under ingredients.
- Feel free to replace lemon juice with lime. You might want to use a bit less, since it tends to be more sour.
- In all my pulao recipes, I always recommend basmati sella, without exception. The cooked rice comes out perfect. Like you’d get in restaurants. It holds up better than regular basmati if it happens to overcook a little. But if you prefer regular basmati, there are just a few tweaks you’ll need to make. I’ve shared those in the recipe card below.
- Usually, I’d be fine suggesting boneless chicken as a substitute, but not for this recipe. You need the bones to make a proper yakhni. It’s chicken yakhni pulao, after all. That’s where the real flavor comes from.
- Red or white, either onion works in this recipe. Use what you’ve got.
- Fresh chilies can be different. Both in heat and in flavor. Use as much or as little as you like. I go with small red or green Thai (bird’s eye) chilies.
A visual guide for making yakhni Chicken pulao
Here are photos of the key steps to guide you through the recipe. For a printable version with quantities and notes, see the recipe card below.
Combine all ingredients mentioned under "whole spices/sabut garam masala". Set aside.
Also, in a blender or food processor, grind all ingredients listed under "garlic, ginger and chili paste". Set aside.
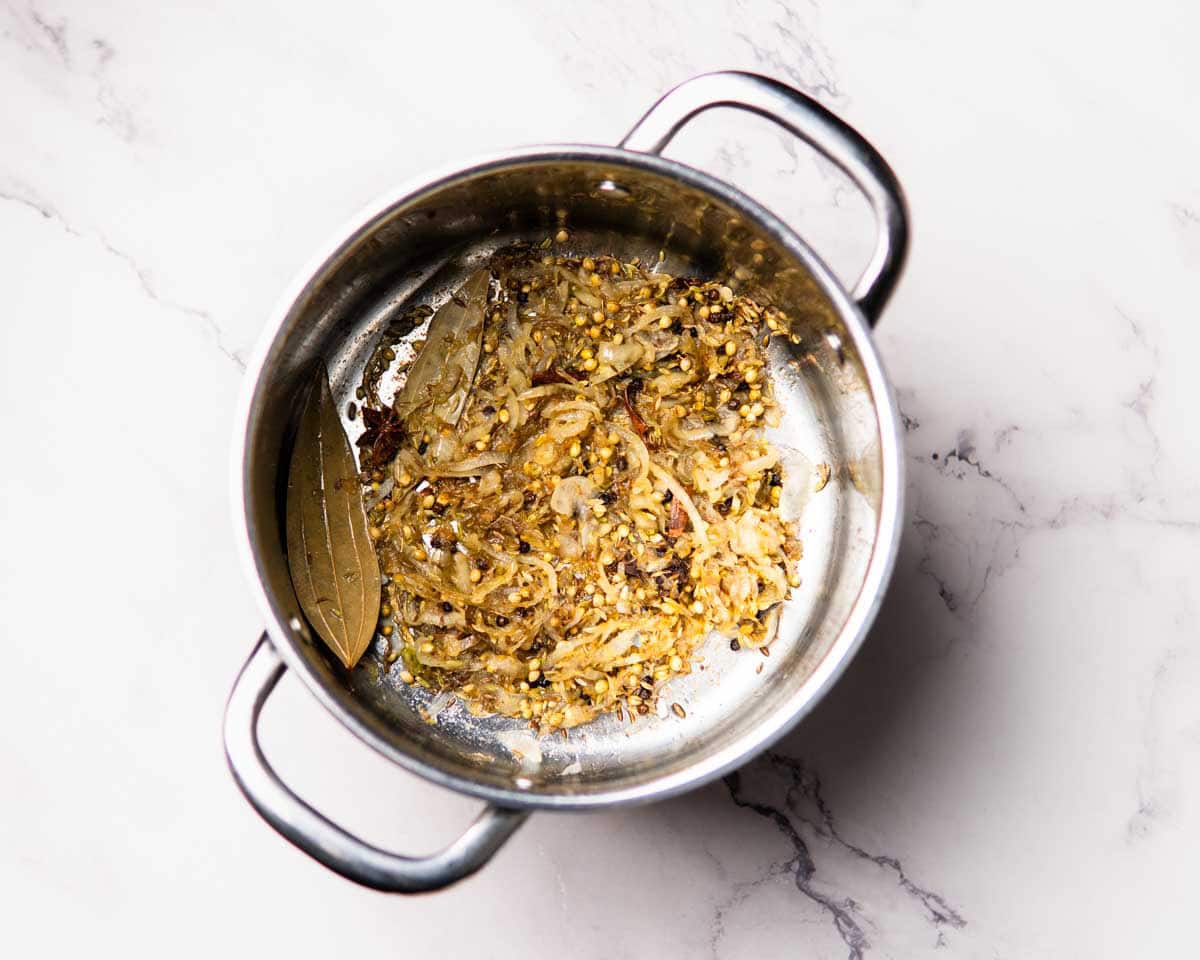
Heat ¼ cup cooking oil in a pot over medium heat. Add onion and cook until it starts to turn golden around the edges. Now add the whole/sabut garam masala mix. Saute for 2 minutes.
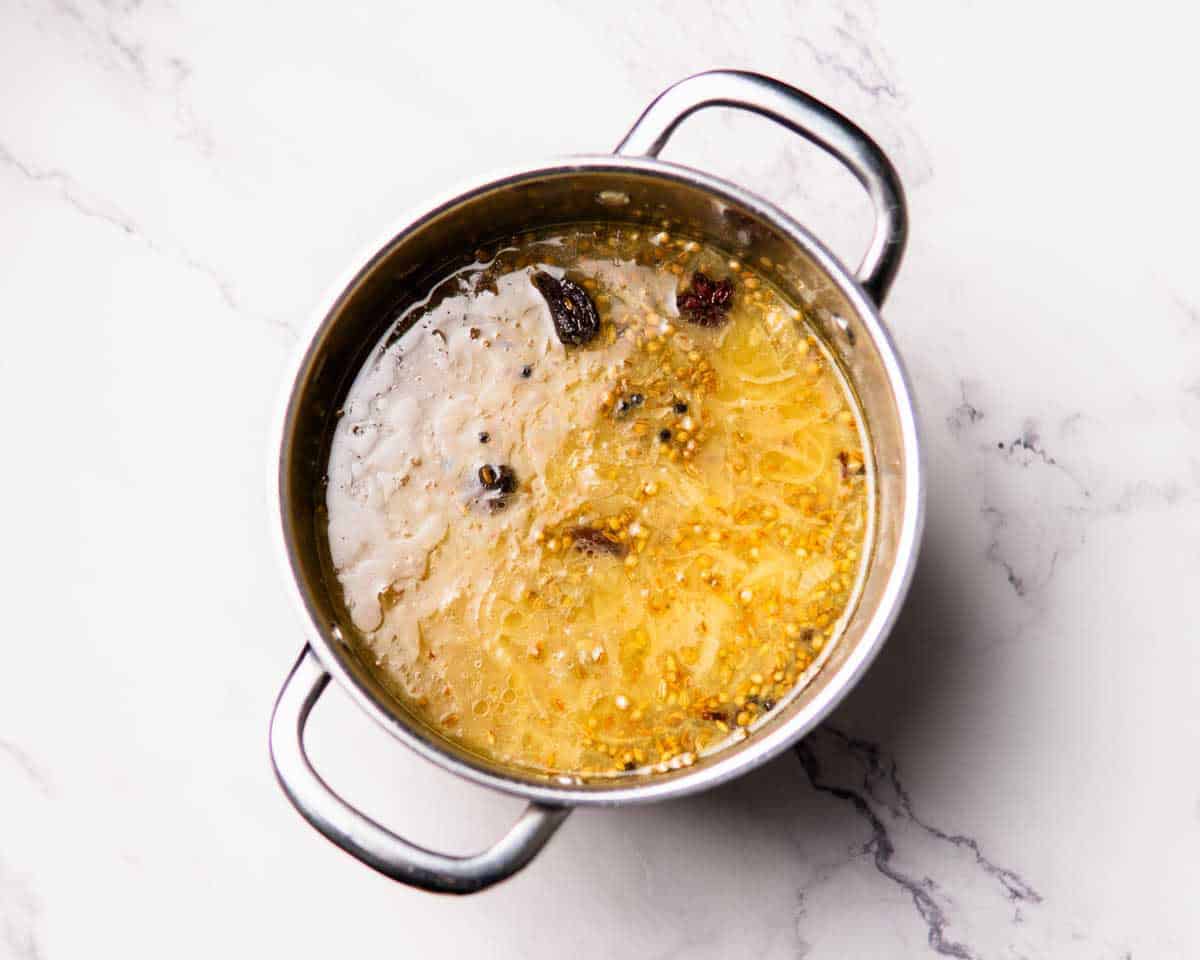
Add 3.5 cups of water. Cover, bring to a boil. Then reduce the heat to low, and gently simmer covered for 15 minutes. Use a fine-mesh strainer/sieve to separate the broth from solids. Measure the broth. You need 1.5 cups of liquid per 1 cup of rice. If there isn’t enough, add water to make up the difference.
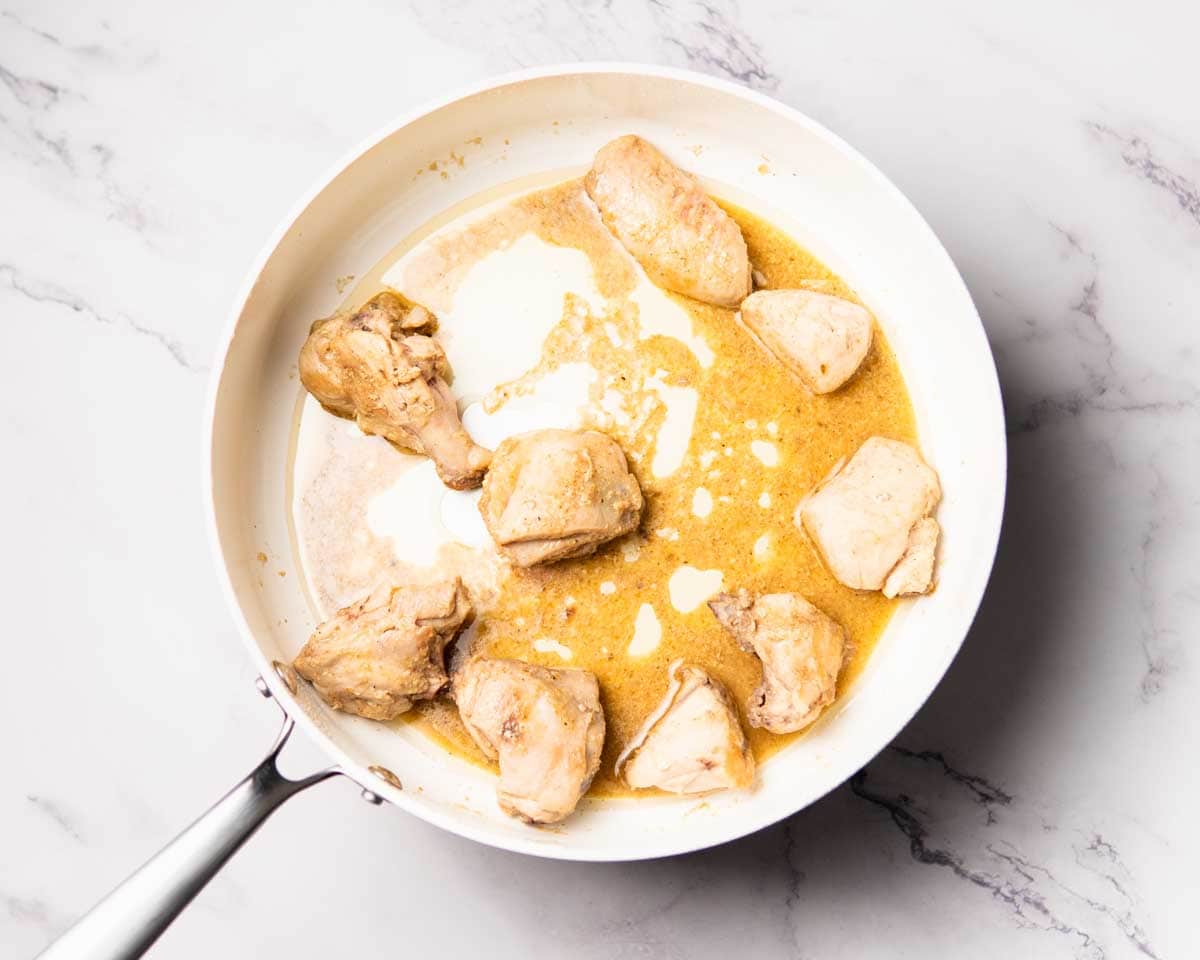
In a large non-stick pot/saucepan, heat the remaining ¼ cup of oil on medium-high heat. Add the chicken, cumin powder, garam masala powder, and 1 teaspoon salt. Cook until the chicken is no longer pink. Add whisked yogurt and your fresh ginger-garlic-chili paste. Stir for 1 minute.
Add the masala broth and remaining 1.5 teaspoons salt. Cover and bring to a boil. Reduce the heat to low, and simmer covered for 10 minutes.
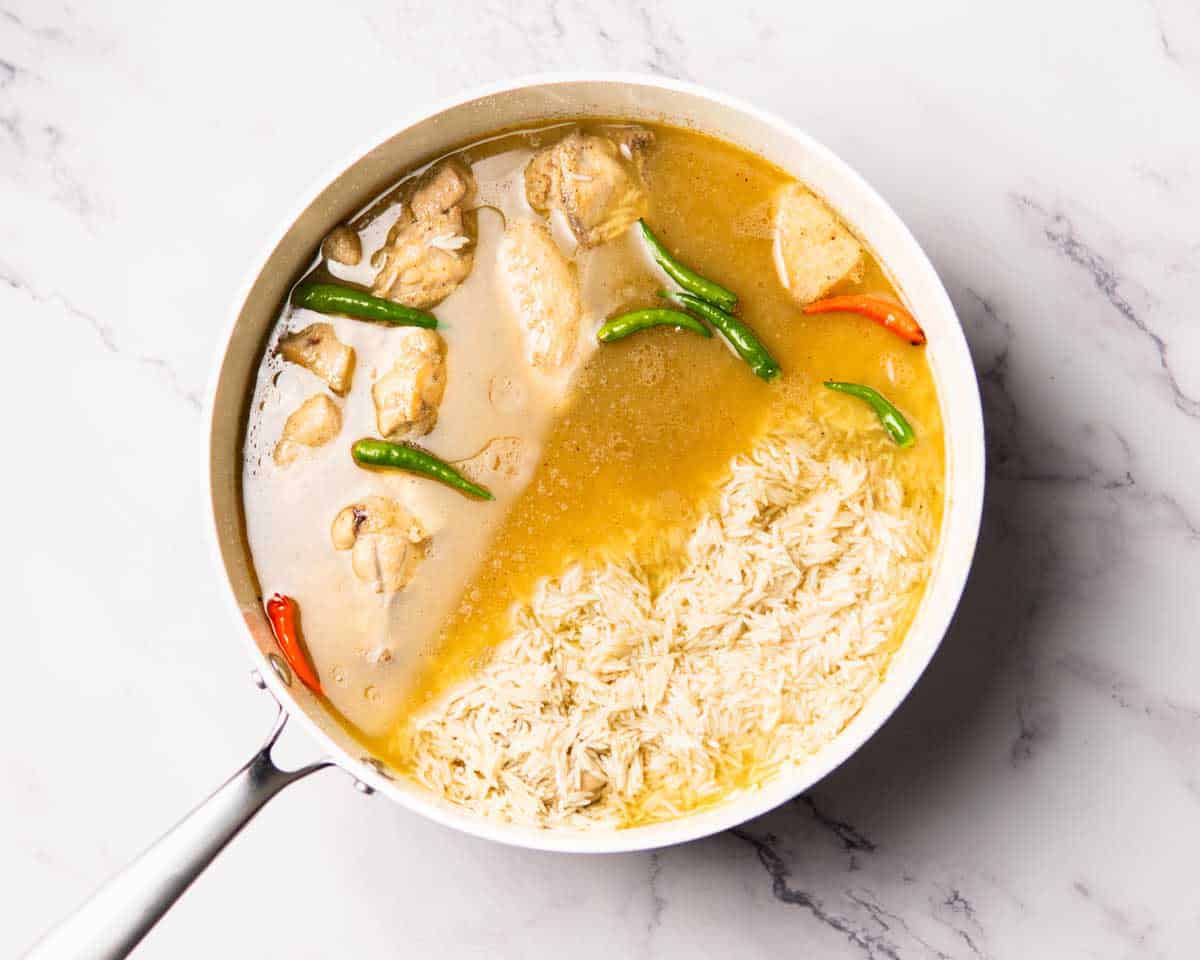
Increase the heat to medium-high again and bring the yakhni to a rolling boil. Add the drained sella rice, lemon juice, julienned ginger, and 4 uncut small chilies. Gently mix.
Partially cover, let liquid reduce over med-high heat (or medium if burner is strong). As liquid cooks down, you'll start to see small bubbles and steam holes across the surface of rice. That’s your cue to give it a brief, gentle stir.
Cover completely, reduce heat to lowest setting. Let it steam 15 minutes. DO NOT remove the lid.
Turn off the heat. DO NOT remove the lid yet. Leave pot on the same burner. Let rice rest for 15 minutes, and then serve.
Top tips
- When you strain the masala broth, use the back of a spoon to press the masalas against the sieve/strainer. You want every bit of those flavorful juices squeezed out.
- You’ll notice I specifically mention a non-stick pot/saucepan in the step where you start cooking the chicken. That’s because there isn’t a lot of oil being used in this step. And in an uncoated metal pot, the chicken tends to stick. Technically, though, not a big deal since the chicken releases on its own later, as long as you let each side cook undisturbed. But the issue is that by the time it releases, the surface is already seared and almost overcooked for this step. You might be thinking, “Why not just add more oil?” That won’t work either, because we also use oil for sautéing the onions and spices. And if you add more, you'll dish will end up too greasy. Bottom line is, use non-stick cookware for the best, moist chicken.
Serving ideas
Serve this chicken pulao with a raita of your choice. But not a strong-tasting one. Or it'll overpower the pulao flavors. I also love a nice kachumber on the side. Reminds me I need to start sharing my chutney and raita recipes here.
And that's a wrap!
I love this recipe and I hope you will too. If you try, please come back to leave your review and rating. I'd appreciate that!
May joy and inspiration always accompany you - Nelo
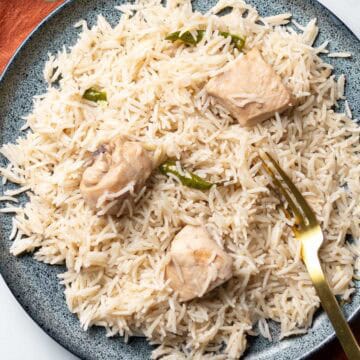
Yakhni Chicken Pulao (Chicken Rice Pilaf)
Ingredients
Whole Spices/ Sabut Garam Masala
- 1 tablespoon whole coriander seeds - aka sabut dhaniya
- 1 tablespoon fennel seeds - aka saunf
- 2 teaspoons whole cumin seeds - aka safaid zeera
- 6 cloves - aka laung
- 2 black cardamoms - aka bari elaichi
- 4 green cardamoms - aka choti elaichi
- 1 small piece of cinnamon - aka dalchini
- 2 small bay leaves - aka tez patta
- 1 teaspoon whole black peppercorns - aka sabut kali mirch
- 1 small star anise - aka badiyan ka phool
For fresh garlic, ginger and chili paste
- 6 cloves garlic - peeled
- 1 inch piece of ginger - peeled
- 4 small green chilies - (Note A)
Other ingredients
- ½ cup (120 ml) cooking oil - divided
- 1 medium (110 g) onion - thinly sliced
- 1 pound (500 g) chicken - skinless, bone-in, cut into pieces (Note B)
- 1 teaspoon cumin powder - aka zeera powder
- ¼ teaspoon garam masala powder
- 2.5 teaspoons salt - white table salt, divided
- ¼ cup (60 g) yogurt - whisked until smooth
- 2 cups (400 g) sella/parboiled basmati rice - washed, soaked for 2 hours, then drained (Note C)
- 2 tablespoons lemon juice - freshly squeezed
- ½ inch piece of ginger - peeled and julienned (thin matchsticks)
- 4 small whole green/red chilies - whole, uncut, adjust quantity to preference
Instructions
- Have all ingredients prepped and ready before you start cooking. You can use the checkboxes next to each ingredient to track your prep.
- In a bowl, combine all ingredients mentioned under "whole spices/sabut garam masala". Set aside
- In a blender or food processor, grind together all ingredients listed under "garlic, ginger and chili paste". Use just enough water to make it smooth. Set aside.
- Heat ¼ cup cooking oil in a pot over medium heat. Add sliced onion and cook until it starts to turn golden around the edges. Don't let it turn brown.
- Now add the whole/sabut garam masala mix you made. Saute for 2 minutes.
- Add 3.5 cups of water. Cover, bring to a boil. Then reduce the heat to low, and cook covered for exactly 15 minutes. Maintain a gentle simmer. Don't let it go any longer or the liquid will reduce more than what's needed for yakhni.
- Turn off the heat. Use a fine-mesh strainer/sieve to separate the broth from solids. Measure the broth. You need 1.5 cups of liquid per 1 cup of rice. So for 2 cups rice, the total is 3 cups of liquid. If there isn’t enough, add water to make up the difference. If the measured quantity is a bit more, that's fine.
- In a large non-stick pot/saucepan, heat the remaining ¼ cup of oil on medium-high heat. Add the chicken. Also add cumin powder, garam masala powder, and 1 teaspoon salt. Stir and cook until the chicken has changed color and is no longer pink.
- Add whisked yogurt and your fresh ginger-garlic-chili paste. Stir for 1 minute. Add the broth you made and remaining 1.5 teaspoons salt. Cover and bring to a boil. Reduce the heat to low, and simmer covered for just 10 minutes.
- Increase the heat to medium-high again and bring the yakhni to a rolling boil. Once boiling, add the soaked, drained rice, fresh lemon juice and julienned ginger. Also add 4 small uncut fresh green/red chilies (pull the stems out, but chilies should have no cuts or openings to avoid extra heat). Gently stir to mix.
- Partially cover the pot with lid and let liquid reduce over medium-high heat (or medium if your burner is strong). Don't stir yet, just keep an eye. At first, the bubbles on the surface will be big and vigorous. As the liquid cooks down further, you'll start to see small bubbles and steam holes across the surface. That’s your cue to give a brief, gentle stir. Some liquid (around 10 to 20 percent) will still be left, which is intended.
- Cover completely with lid right away, and reduce heat to the lowest setting. Let it steam for 15 minutes. If using regular basmati instead of sella basmati, steam 10 minutes instead. DO NOT remove the lid. No peeking, no stirring.
- Turn off the heat. DO NOT remove the lid yet and leave the pot on the same burner. Let the rice rest for 15 minutes so it finishes cooking in residual heat.
- After the resting time, remove the lid, plate the rice using a flat, wide utensil like a rice paddle, and enjoy.
Leave a Comment